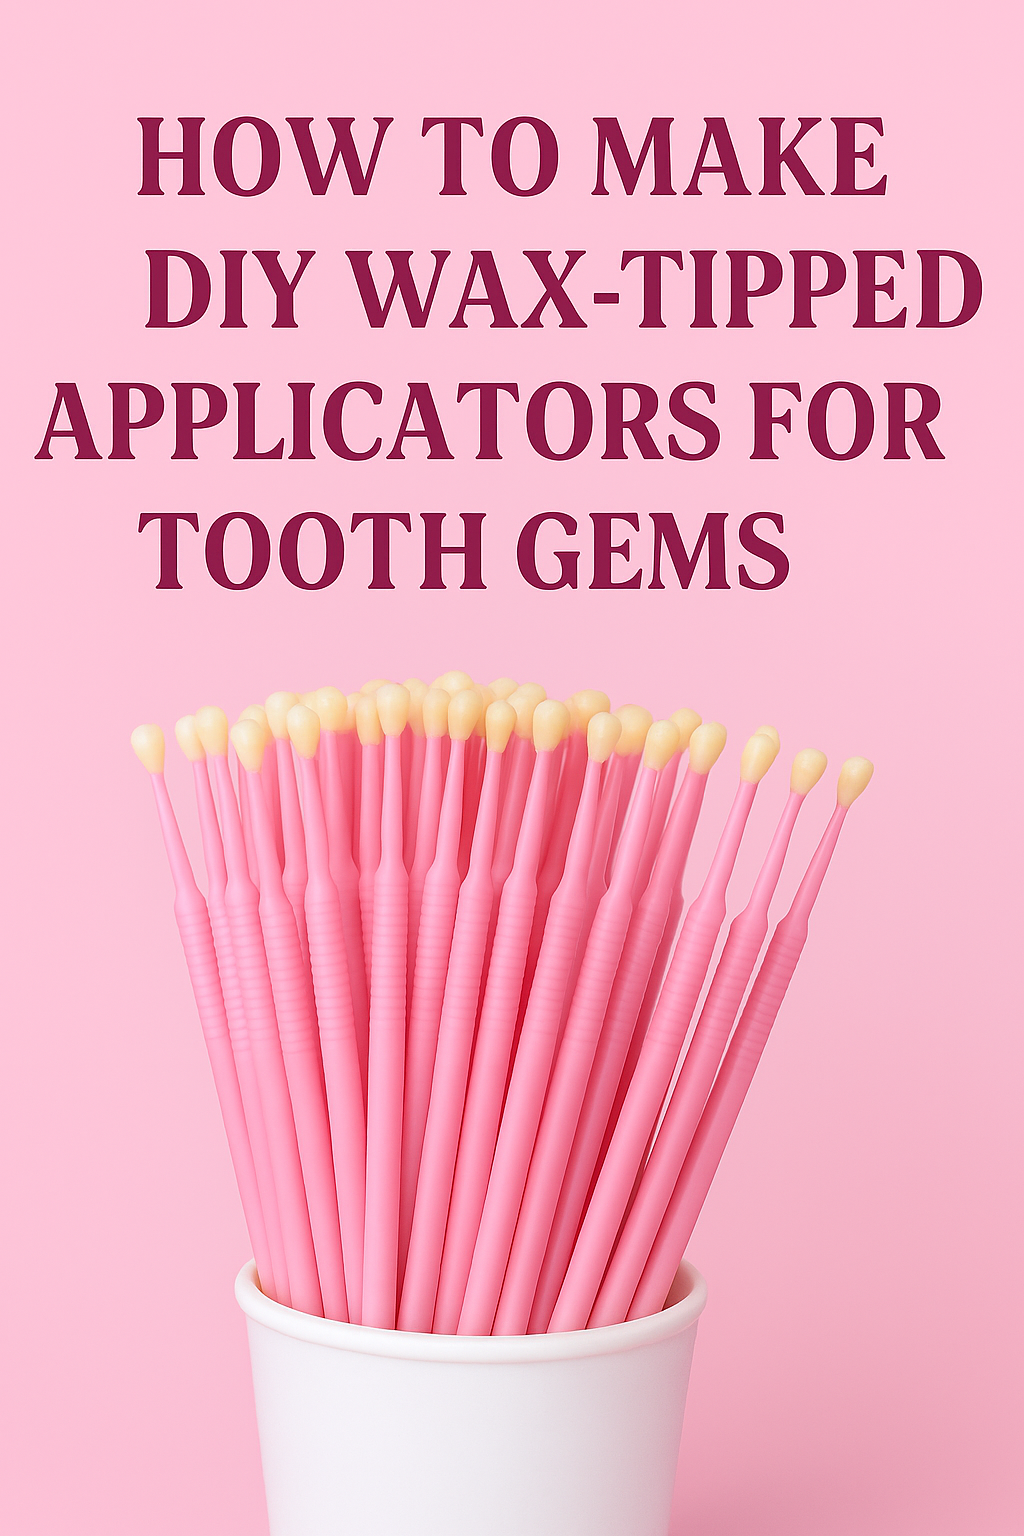
💎 DIY Wax Tips for Tooth Gem Application – A Tech’s Quick Guide
Share
If you're a tooth gem technician looking to save a little money or want a reliable backup for your tools, making your own wax tips is a simple, cost-effective solution. These sticky applicators are perfect for picking up and placing gems precisely — and they’re surprisingly easy to make!
✨ Why Use Wax Tips?
Wax tips are a must-have tool for any tooth gem tech. They let you:
Pick up and place tiny crystals with precision
Avoid dropping gems during application
Help maintain a sanitary process
Best of all, you don’t need to buy pre-made ones — you can make your own in minutes with just a few simple supplies.
🔧 What You’ll Need:
Disposable micro brush applicators
Orthodontic wax (you can also use beeswax as a substitute)
Optional: a lighter or candle (for softening the wax)
🧼 What Is Orthodontic Wax?
Orthodontic wax is a soft, pliable medical-grade wax used by people with braces or dental appliances. It’s designed to:
Create a barrier between brackets/wires and the inside of the mouth
Prevent irritation or injury to cheeks and lips
Be safe if accidentally ingested in small amounts
🛒 Where to Buy It:
Most drugstores (CVS, Walgreens, Rite Aid)
Dental offices
Amazon, Walmart, or orthodontic supply websites
💡 Why It Works for Tooth Gem Wax Tips:
Orthodontic wax is soft enough to shape, hygienic, and slightly tacky — perfect for picking up and placing small gems. While beeswax or soft candle wax can also work, orthodontic wax is:
Cleaner (medical-grade)
Safer for use near the mouth
Easier to portion, store, and reuse
🛠 How to Make Wax Tips
🔥 1. Warm the Wax
In a sterile environment and wearing nitrile gloves, break off a small piece of wax and place it in a heat-safe dish or small pot. Warm it gently using one of the following:
A double boiler setup
A wax melt burner (used for scented wax cubes)
A small pot over very low heat on the stove
Heat the wax just enough to soften it — it should be pliable, not melted or hot to the touch. Let it cool slightly before handling.
✋ 2. Roll & Shape
Roll the warm wax into a small ball about the size of a lentil. Press it firmly onto the pointed end of your disposable micro brush applicator or toothpick.
🌀 3. Mold the Tip
Shape the wax into a fine point or rounded tip — just enough to grip tiny crystals without being bulky. If it becomes too sticky or misshaped, re-roll and reshape as needed.
❄️ 4. Let It Cool
Let the wax firm up for a minute or two before using. Store extras in a clean, sealed container to keep them sanitary.
🧼 Cleaning & Storage Tips:
Keep wax tips in a dust-free, sanitized case
Replace them as needed to avoid contamination
Avoid touching the tip directly to preserve grip and hygiene
💡 Pro Tip:
Include your homemade wax tips as part of your Tooth Gem Starter Kits or retail them separately in your Shopify store. They’re low-cost, easy to brand, and add value for beginner techs.
💋 Stay Glammed & Informed
Want more pro DIY tips and glam beauty tools? Subscribe to The Glow-Up Guide!
